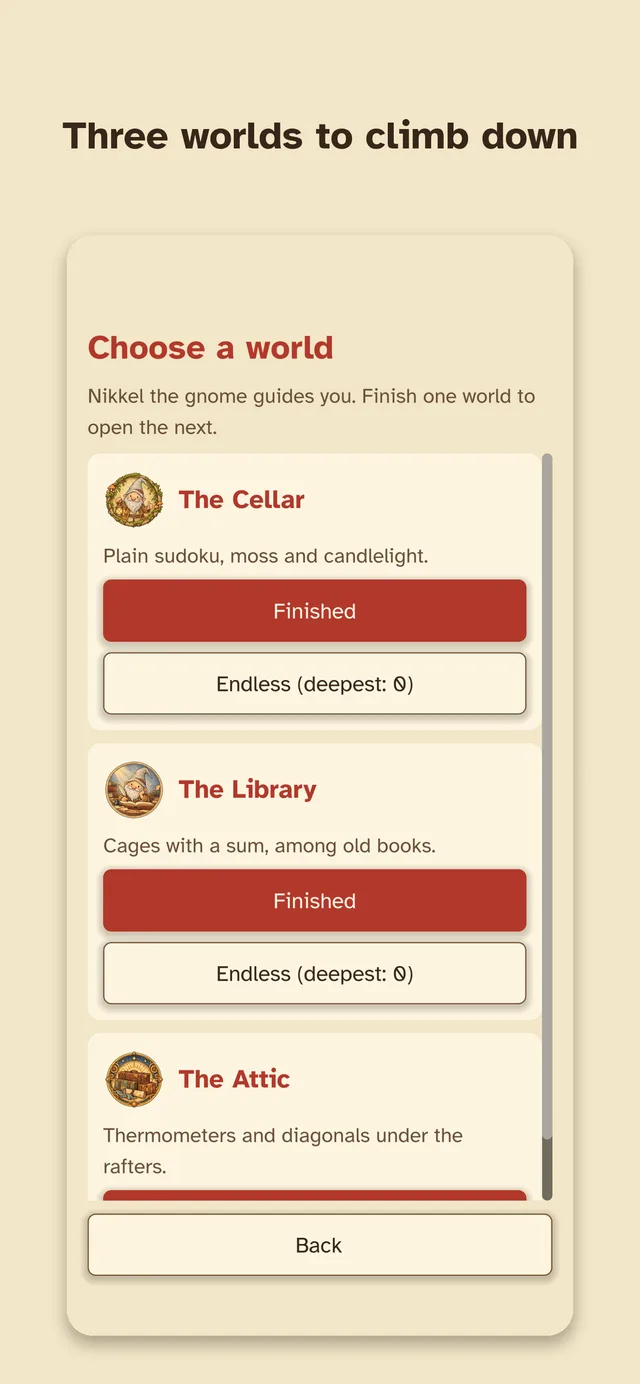
Three worlds
Each world is a different kind of sudoku, with eight floors, a boss on floors 4 and 8, and 14 relics only it can offer.
The Cellar
Classic sudoku, from 6×6 up to 9×9.
Floors 1 to 4 are 6×6, floors 5 to 8 are 9×9. This is where you learn the two ways to move forward without guessing: the only digit that fits a square, and the only square a digit fits.
Bosses
Floor 4: one digit may not stand in any corner of the board. Floor 8: two digits may not. Both are written on screen and shown on the board.
The 14 relics of this world
- Candle Stub. Squares with only one digit left glow softly.
- Moss. Every 3 finished rows, columns or boxes on a board give one life back.
- Root. Every board starts with all possible digits written as notes.
- Cobweb. After a mistake you see which digits do fit in that square.
- Dripstone. Pick a filled square: every empty square where its digit can still go is outlined.
- Snail Slime. Making the same wrong move in the same square again costs nothing.
- Rootstock. Every board starts with one extra given digit.
- Dew. A board finished without a mistake gives one life back.
- Bat. Notes that can no longer be right disappear by themselves.
- Boot. The first mistake on each boss board costs nothing.
- Sprout Fungus. A row, column or box with one empty square fills in by itself.
- Glow Fungus. The lantern also tells you which digit goes in the square it points at.
- Creeping Root. Boss boards start with two extra given digits.
- Thread. Every 8 correct moves in a row give one life back.
The Library
Killer sudoku: cages with a sum.
A dotted cage must add up to the number in its corner, and a digit may not repeat inside it. The cages carry the puzzle, so there are far fewer given digits. Opens when you finish the Cellar.
Bosses
Floor 4: one cage is hidden until you make a mistake. Floor 8: two are. A cage is only ever hidden when the board can be solved without it, so you never have to guess what it was.
The 14 relics of this world
- Bookmark. Every cage shows how much of its sum is still missing, next to the sum.
- Sum List. Pick an empty square in a cage to see the digit combinations that still make its sum.
- Margin. A cage with one empty square fills in by itself.
- Register. Cages that can only be finished one way are outlined.
- Duster. Notes that the cage sum rules out disappear by themselves.
- Footnote. After a mistake in a cage you see the combinations of that cage.
- Wax Seal. Every board starts with its smallest cage already filled in.
- Black Light. Hidden cages are visible from the start.
- Stamp. Every 3 finished cages on a board give one life back.
- Catalogue. The first mistake in each cage costs nothing.
- Marginalia. Notes start in every cage square, with only the digits the cage sum allows.
- Slide Rule. Digits the cage sum rules out are greyed out on the keypad.
- Librarian. Boss boards start with their two smallest cages filled in.
- Ribbon. The first cage you finish on each board gives one life back.
The Attic
Thermometers and diagonals.
Digits on a thermometer must rise from the round bulb to the tip. On a diagonal board, both long diagonals hold every digit once, like a row would. Opens when you finish the Library.
Bosses
Floor 4: both diagonals. Floor 8: both diagonals and the thermometers on a 9×9 board.
The 14 relics of this world
- Pendulum. Pick an empty square on a thermometer to see the lowest and highest digit it can hold.
- Clockwork. Every thermometer you finish gives one life back.
- Suitcase Key. A thermometer with one empty square fills in by itself.
- Mercury. Notes start in every thermometer square, with only the digits that still fit.
- Brass Bulb. Notes in thermometer squares that can no longer be right disappear by themselves.
- Thermostat. The first mistake on each thermometer costs nothing.
- Moonlight. Thermometer squares with only one digit left glow softly.
- Star Chart. Pick a square on a diagonal to see which digits that diagonal still misses.
- Mirror. On boards with diagonals, each diagonal starts with one extra given digit.
- Weathervane. The first mistake on a diagonal on each board costs nothing.
- Sundial. Every diagonal you finish gives one life back.
- Attic Lamp. The lantern looks at the thermometers first.
- Suitcase Lock. Every thermometer starts with its bulb already filled in.
- Sky Map. You may carry one more life than usual.
Shared relics
These 10 can appear in every world.
- Pencil. Placing a digit clears it from the notes of every square it touches.
- Owl. Once per board, the owl fills in the square you pick.
- Second Chance. The first mistake on each board costs nothing.
- Lantern. Once per board, the lantern points at the easiest square.
- Heart. One extra life, right now.
- Compass. The digit buttons show how many of each digit are still missing.
- Bandage. Beating a boss gives one life back.
- Feather. The owl and the lantern work one more time per board.
- Magnifier. Picking an empty square shows which digits still fit there.
- Anchor. Once per run, a fatal mistake leaves you with one life.
Also in the game
- Daily run: one per world per day, the same seed for everyone.
- Endless: for each world you have finished, go as deep as you can.
- Seeds: a run is fully decided by its seed, so you can share one and play the same run as a friend.